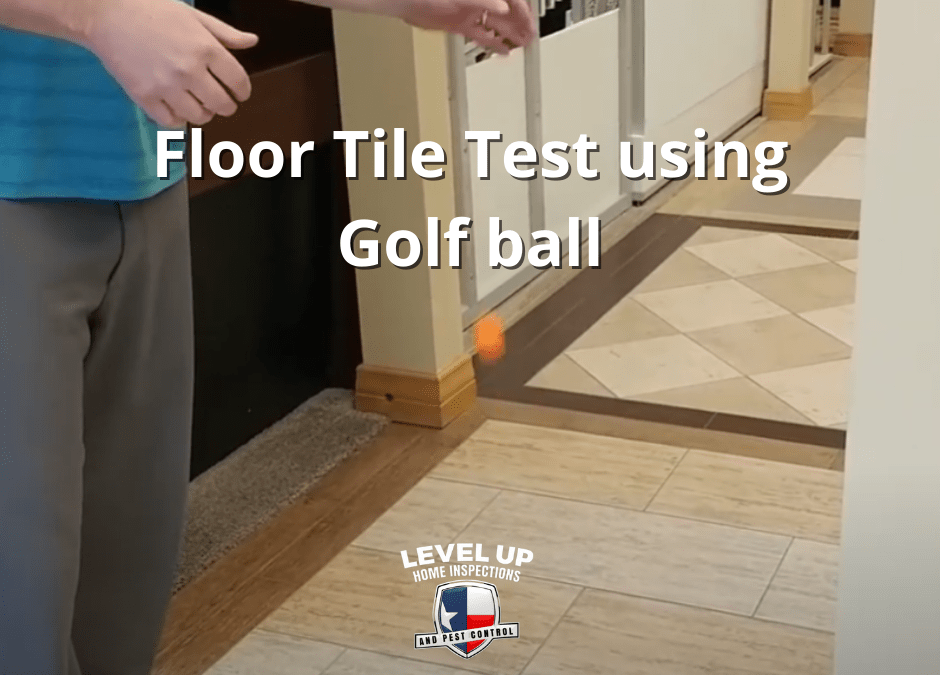
DIY Flooring: Mastering the Art of Floor Tile Testing with a Golf Ball Twist
When it comes to achieving exceptional flooring, a thorough floor tile test is a critical step. Moreover, while traditional methods are commonly used, there’s a unique twist gaining popularity – the golf ball floor tile test. In this comprehensive guide, we will explore this innovative approach, providing you with practical steps to master the art of floor tile testing.
The Significance of the Golf Ball Floor Tile Test:
The golf ball floor tile test introduces a fresh perspective when evaluating the quality and integrity of your tiles. Consequently, by simulating real-life impact and stress, this test reveals potential weaknesses and inconsistencies in your tile installation. Incorporating this method into your floor tile testing routine guarantees a resilient and reliable flooring solution.
Essential Materials: Before diving into the test, gather the following materials:
- Golf ball
- Floor tiles
- Tile adhesive
- Trowel
- Grout
- Tile spacers
- Measuring tape
- Level
- Sponge
- Water-filled bucket
Step 1: Preparing the Surface and Tiles:
To begin, ensure the surface is clean, dry, and level. As an illustration, apply tile adhesive to the back of each tile using a trowel, ensuring an even coat. Press the tiles firmly onto the surface, aligning them with precision and using tile spacers to maintain consistent spacing. Allow the adhesive to dry thoroughly as per the manufacturer’s instructions.
Step 2: Implementing the Golf Ball Test:
Once the adhesive has cured, it’s time to put the golf ball floor tile test into action. Stand a few feet away from the test tile and gently drop the golf ball onto its surface. Observe how the tile reacts to the impact. In particular, pay close attention to any signs of cracking, shifting, or other visible damage.
Step 3: Inspecting and Evaluating the Test Tile:
After conducting the golf ball test, carefully examine the tile for any potential issues. Look for cracks, fractures, or unevenness that may have resulted from the impact. If the tile passes the test, demonstrating its ability to withstand the force without damage, it confirms a solid installation and suitability for its intended use.
Step 4: Grouting and Final Touches:
If the test tile successfully passes the golf ball test, proceed with grouting. Use a grout float to apply grout, ensuring all gaps between the tiles are adequately filled. Wipe away excess grout with a damp sponge, working diagonally to achieve a clean and polished finish. Allow the grout to cure based on the manufacturer’s instructions.
Additionally, it is important to perform the golf ball floor tile test on multiple tiles throughout the installation area to ensure consistent results. By doing so, you can detect any potential weaknesses or inconsistencies. Follow the manufacturer’s guidelines, and if any issues arise during the process, do not hesitate to consult professionals.
For top-rated home inspection services covering all aspects of flooring, including expert advice on floor tile testing, rely on Level-Up Home Inspections. Their experienced team offers invaluable insights and recommendations to enhance your DIY tile installation project.
In conclusion, incorporating the golf ball floor tile test into your DIY flooring project ensures optimal tile performance, durability, and safety. Furthermore, by following the step-by-step instructions provided and consulting professionals when needed, you can achieve a stunning, long-lasting floor tile solution.
Moreover, it is crucial to note that each step of the process contributes to the overall success of your flooring project. For instance, preparing the surface and tiles meticulously sets the foundation for a solid installation. Likewise, implementing the golf ball test allows you to assess the tiles’ ability to withstand real-life impact.
In addition, inspecting and evaluating the test tile provides a thorough examination of its condition, ensuring its suitability for long-term use. Lastly, grouting and adding final touches contribute to the overall aesthetics and functionality of the tiled surface.
Consequently, by incorporating these steps into your DIY flooring project, you can achieve a high-quality result that will stand the test of time. Regardless of any challenges that may arise during the process, remember that professional assistance is always available.
In summary, the golf ball floor tile test presents an innovative approach to floor tile testing. By utilizing this method and following the outlined steps, you can master the art of floor tile testing and create a visually appealing and durable flooring solution for your space. So, don’t hesitate to embark on your DIY flooring journey with confidence, and enjoy the satisfaction of a well-executed project.
Cause of Tile Hollowness
- The principal cause is a failure to follow proper tile-laying methods.
- During the flooring work, there was insufficient oversight.
- When too much water has been combined into the mortar mix used beneath the tiles, it dries, causing evaporation and the formation of cavities.
- In large rooms/areas, putting tiles wall to wall without allowing for thermal expansion and contraction at the ends results in tiles popping up when the space shrinks.
- Using a mortar bed with a thickness greater than 50 mm for placing tiles, however may gradually shrink due to cement setting, leaving the tiles un-bonded.
- The use of experimental, nonstandard resin-bonded foundation materials for laying has also been shown to produce devastating outcomes.
How to Fix Hollow-Sounding Tiles
When it comes to loose tile, the best solution is to hire an expert. A professional will have the tools, experience, and time to correctly restore your flooring. Furthermore, damaged tiles are sometimes linked with other problems such as loose backing or poor grout. The tile setter will identify any other flaws and suggest a solution but you can also replace your own tiles. In conclusion, if you’ve determined that the problem is an unseated tile, the solution is simple. Here’s an easy way to accomplish it:
1st Step: Gather your materials:
– Iron
– Adhesive for tiles
– Knife for applying putty
– Mineral spirits are a form of distilled spirit.
– Rags
– Pin for rolling dough
2nd Step: Use your iron to release the adhesive on the tile.
3rd Step: Using a putty knife, pry the loose tile out.
4th Step: Dissolve the glue using mineral spirits.
5ft Step: Using your putty knife, scrape away the old adhesive.
6th Step: Use the new tile adhesive to adhere the tiles together.
7th Step: Place your tile in the proper location.
8th Step: Use a rolling pin to remove any air pockets from the tile.
9th Step: Wipe clean the outside of the tile with a mineral spirit-dampened rag
Tile Center near Dallas
Here are some of the top tile centers around the Dallas area that you can check into.
1. Daltile, Marazzi Showroom & Design Studio
Address: 2320 Lyndon B Johnson Fwy Ste 100, Dallas, TX 75234
2. The Tile Shop
Address: 2310 Lyndon B Johnson Fwy, Dallas, TX 75234
3. Interceramic Tile & Stone Gallery
Address: 11935 N Stemmons Fwy #130, Dallas, TX 75234
For any professional home inspection need please call us at (469) 405-9594.


Recent Comments